Firefox OS 的誕生早就不是新聞,但是你也許不知道 Firefox OS 早就貼心提供了平易近人的 build code 環境,以免各位在一開始徬徨無助的時候,就被奇怪的 build failed 給嚇跑了。
沒錯只要跟著下面的三個步驟,就可以 build 好 Firefox OS 的 image 喔!
不過,在開始之前要根據不同的作業系統做些準備。
$ git clone git://github.com/mozilla-b2g/B2G.git .
$ ./config.sh (device name)
$ ./build.sh
123
$ git clone git://github.com/mozilla-b2g/B2G.git .$ ./config.sh (device name)$ ./build.sh
第一步驟的 git clone 是要將我們指定的 git repository 抓到我們的 local machine ,別擔心,這部分花不了多少時間。主要是一些 shell script 可以幫助接下來的步驟簡單的完成,以及一些 debug 相關的 tool。
但是,到第二步驟的時候馬上就冒出了問號,要怎麼知道括號裡面的 device name 要填什麼呢?你的問題我們也都想到了,所以在決定之前,只要打 ./config.sh 就可以知道現在 support 的 device 有哪些囉
Valid devices to configure are:
- galaxy-s2
- galaxy-nexus
- nexus-4
- nexus-s
- nexus-s-4g
- otoro
- unagi
- inari
- keon
- peak
- leo
- hamachi
- helix
- wasabi
- tara
- pandaboard
- emulator
- emulator-jb
- emulator-x86
- emulator-x86-jb
123456789101112131415161718192021
Valid devices to configure are:- galaxy-s2- galaxy-nexus- nexus-4- nexus-s- nexus-s-4g- otoro- unagi- inari- keon- peak- leo- hamachi- helix- wasabi- tara- pandaboard- emulator- emulator-jb- emulator-x86- emulator-x86-jb
這個表列出來現在我們支援的所有 device ,當然這個表會持續的增加,一段時間之後想要 update 的話,使用下面的 command 就可以更新現有的 B2G repository
$ git fetch origin
$ git checkout origin/master
12
$ git fetch origin$ git checkout origin/master
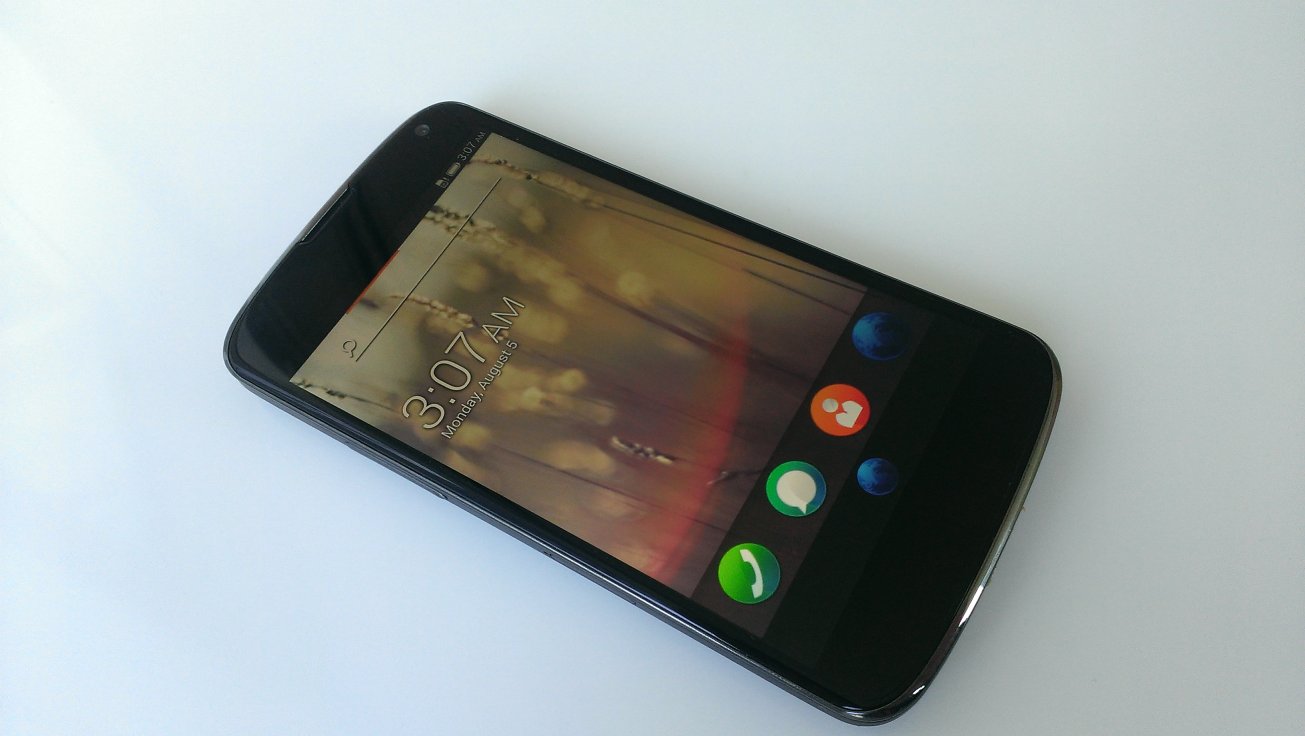
這邊我們拿一隻膾炙人口的 nexus-4 當做例子,並且透過指定 branch 的方式確保我們使用的是 master branch,所謂的 master 就是跟著全世界的腳步走在第一線的 code,所有的 history 或是新的 feature 都可以從這邊一探究竟。
$ BRANCH=master ./config.sh nexus-4
1
$ BRANCH=master ./config.sh nexus-4
這步驟其實需要一點時間,既然有點時間,剛好可以把 config.sh 打開來看看到底什麼事情要做那麼久。
./repo init -u git://github.com/mozilla-b2g/b2g-manifest -b master -m nexus-4.xml
./repo sync
12
./repo init -u git://github.com/mozilla-b2g/b2g-manifest -b master -m nexus-4.xml./repo sync
結果其實是在抓 code !難怪需要一點時間,既然這樣就來看看到底 B2G 的 code 究竟是從哪來的呢?首先看到的是 remote 端到底有哪些 source, 這邊很清楚的定義了一個 aosp 以及兩個 mozilla 的 repository。這裡提供了關於 manifest 的詳細說明。
<remote fetch="https://android.googlesource.com/" name="aosp"/>
<remote fetch="git://github.com/mozilla-b2g/" name="b2g"/>
<remote fetch="git://github.com/mozilla/" name="mozilla"/>
123
<remote fetch="https://android.googlesource.com/" name="aosp"/> <remote fetch="git://github.com/mozilla-b2g/" name="b2g"/> <remote fetch="git://github.com/mozilla/" name="mozilla"/>
接下來就看到了其實 manifest 裏面分成了三大部份,下面就節錄部份內容解釋
- B2G 的 code,都是放在 github 上的,其中當然包含了遠近馳名的 Gecko 以及 Gaia。最酷的部份就是一段時間就會有好多 commit 跑出來,隨時有任何想法或是意見,都可以 feedback 給 Mozilla !
<!-- B2G specific things. -->
<project name="platform_build" path="build" remote="b2g" revision="b2g-4.3_r2.1">
<copyfile dest="Makefile" src="core/root.mk"/>
</project>
<project name="mozilla-central" path="gecko" remote="mozilla" revision="master"/>
<project name="gaia" path="gaia" remote="b2g" revision="master"/>
<project name="gonk-misc" path="gonk-misc" remote="b2g" revision="master"/>
1234567
<!-- B2G specific things. --> <project name="platform_build" path="build" remote="b2g" revision="b2g-4.3_r2.1"> <copyfile dest="Makefile" src="core/root.mk"/> </project> <project name="mozilla-central" path="gecko" remote="mozilla" revision="master"/> <project name="gaia" path="gaia" remote="b2g" revision="master"/> <project name="gonk-misc" path="gonk-misc" remote="b2g" revision="master"/>
- 這部份都是從一些既有的 open source 像是 linux , aosp , arm 抓下來的。
<!-- Stock Android things -->
<project groups="linux,arm" name="platform/prebuilts/gcc/linux-x86/arm/arm-eabi-4.7" path="prebuilts/gcc/linux-x86/arm/arm-eabi-4.7"/>
<project groups="linux,arm" name="platform/prebuilts/gcc/linux-x86/arm/arm-linux-androideabi-4.7" path="prebuilts/gcc/linux-x86/arm/arm-linux-androideabi-4.7"/>
<project name="platform/abi/cpp" path="abi/cpp"/>
<project name="platform/bionic" path="bionic"/>
12345
<!-- Stock Android things --> <project groups="linux,arm" name="platform/prebuilts/gcc/linux-x86/arm/arm-eabi-4.7" path="prebuilts/gcc/linux-x86/arm/arm-eabi-4.7"/> <project groups="linux,arm" name="platform/prebuilts/gcc/linux-x86/arm/arm-linux-androideabi-4.7" path="prebuilts/gcc/linux-x86/arm/arm-linux-androideabi-4.7"/> <project name="platform/abi/cpp" path="abi/cpp"/> <project name="platform/bionic" path="bionic"/>
- 最後的 Nexus 4 部份就是針對 device 本身的 component 以及設計上的差異,所需要的那些相對應的支援。所以這邊往往都會透露了許多的硬體規格喔!
<!-- Nexus 4 specific things -->
<project name="device-mako" path="device/lge/mako" remote="b2g" revision="b2g-4.3_r2.1"/>
<project name="platform/hardware/broadcom/wlan" path="hardware/broadcom/wlan"/>
<project name="platform/hardware/qcom/audio" path="hardware/qcom/audio"/>
<project name="platform/hardware/qcom/msm8960" path="hardware/qcom/msm8960"/>
12345
<!-- Nexus 4 specific things --> <project name="device-mako" path="device/lge/mako" remote="b2g" revision="b2g-4.3_r2.1"/> <project name="platform/hardware/broadcom/wlan" path="hardware/broadcom/wlan"/> <project name="platform/hardware/qcom/audio" path="hardware/qcom/audio"/> <project name="platform/hardware/qcom/msm8960" path="hardware/qcom/msm8960"/>
其實看完 manifest.xml 也知道了 Firefox OS 並沒有打算根據某些特定的 BSP 去做什麼架構上的改變,反而是要跟底層做出切割,也就是說不管底層怎麼換,Firefox OS 都是要可以跑的!
第三步驟就是直接 ./build.sh 了,這邊基本上不會有什麼問題,畢竟全部的人都是從這些 open source 的地方去取得 source code 的,就放心的等待吧。
image 檔 build 出來之後就可以準備變身 FireFox OS 囉!